How to Add Telegram Accounts to Deskgram 2
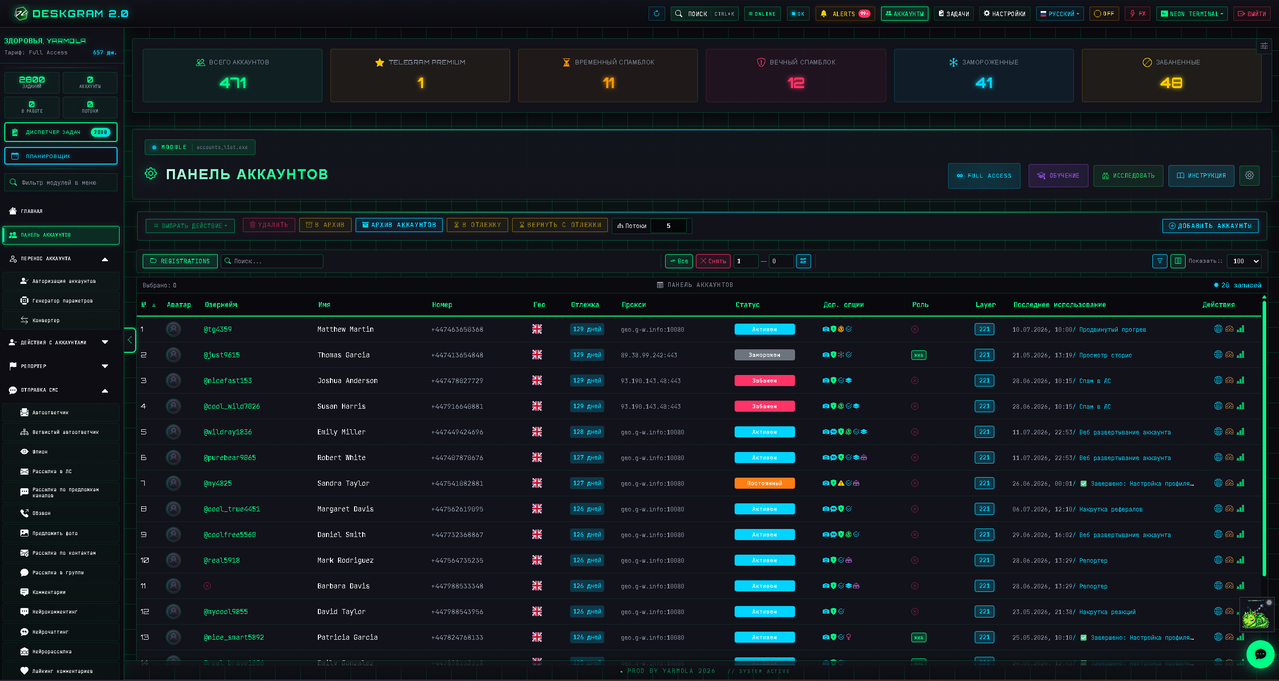
Deskgram 2 supports several ways to add Telegram accounts. The fastest option is importing .session and .json files, but you can also use the account panel if you prefer a visual workflow.
Important Safety Note
When you add accounts, Deskgram 2 stores account data but does not start mass automation immediately. Proxies matter when accounts begin real tasks, so check proxy settings before running invites, parsing, messaging or warmup.
Method 1. Session and JSON Files
This is the fastest import method for purchased or prepared Telegram accounts.
- Prepare matching
.sessionand.jsonfiles. - Put them into the Deskgram 2 sessions folder or use the account import interface.
- Make sure file names match if your supplier uses paired files.
- Open the account panel and check that accounts appear correctly.
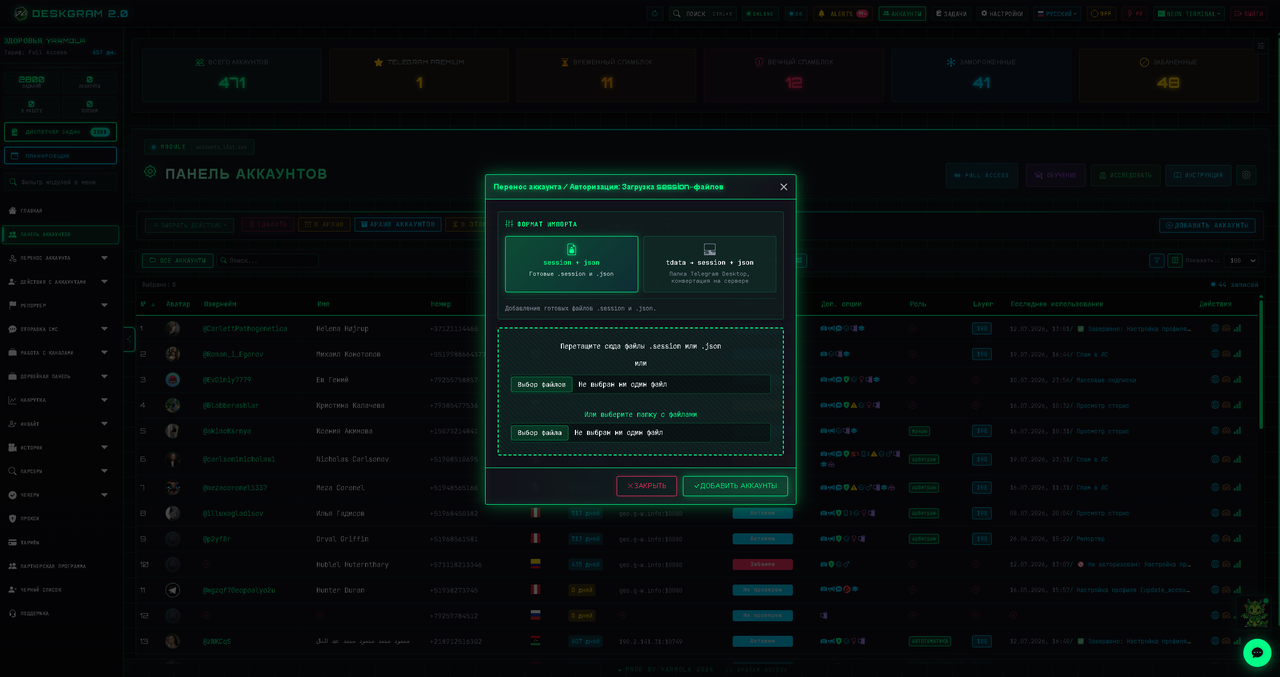
This method is convenient for bulk account import and large Telegram automation setups.
Method 2. Drag-and-Drop Import
If you do not want to work with folders manually, use the import area in the interface.
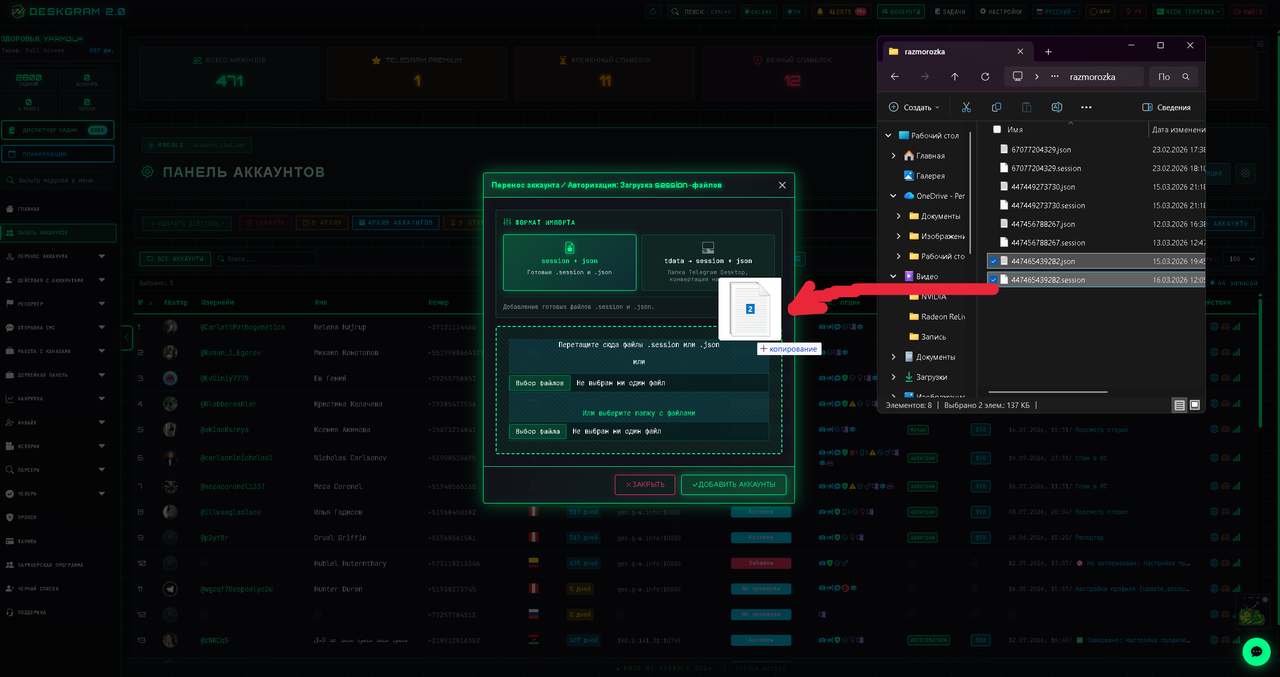
Recommended checks:
- files are not archived;
- every account has the required session data;
- JSON files contain proxy data if you plan to use account-level proxies;
- imported accounts are reviewed before launching tasks.
Method 3. TData Import
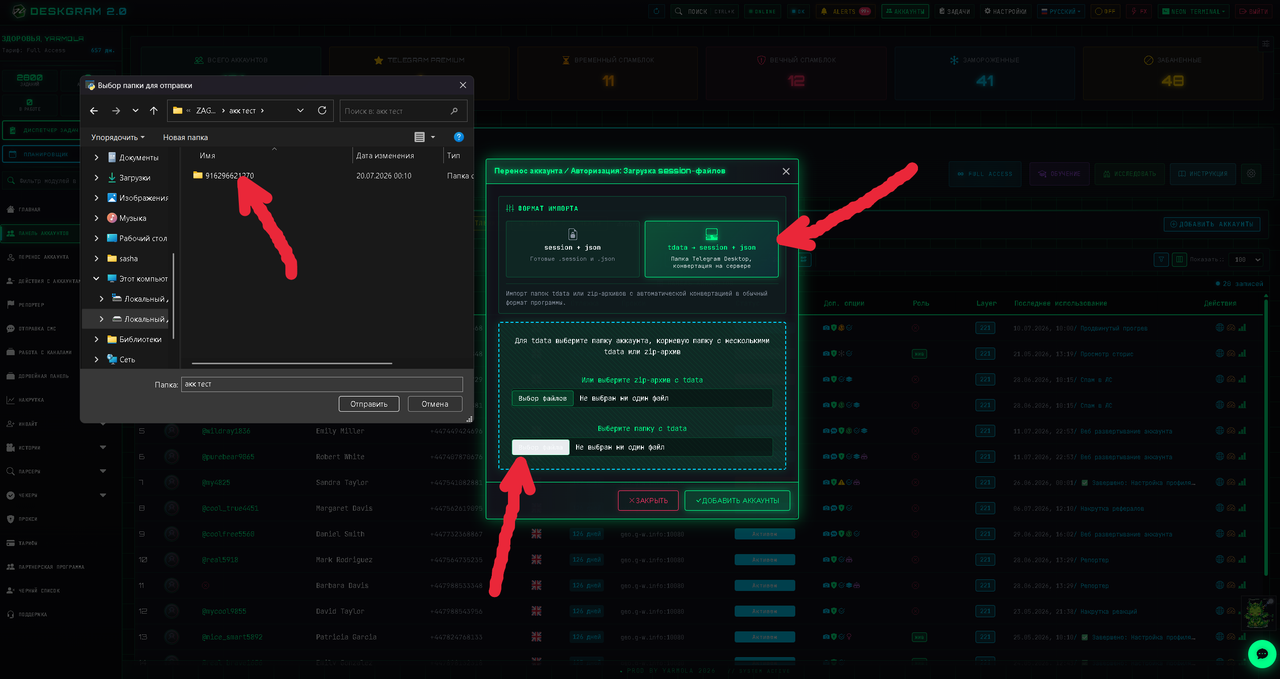
TData is a Telegram Desktop profile folder. Deskgram 2 can work with this format when it is structured correctly.
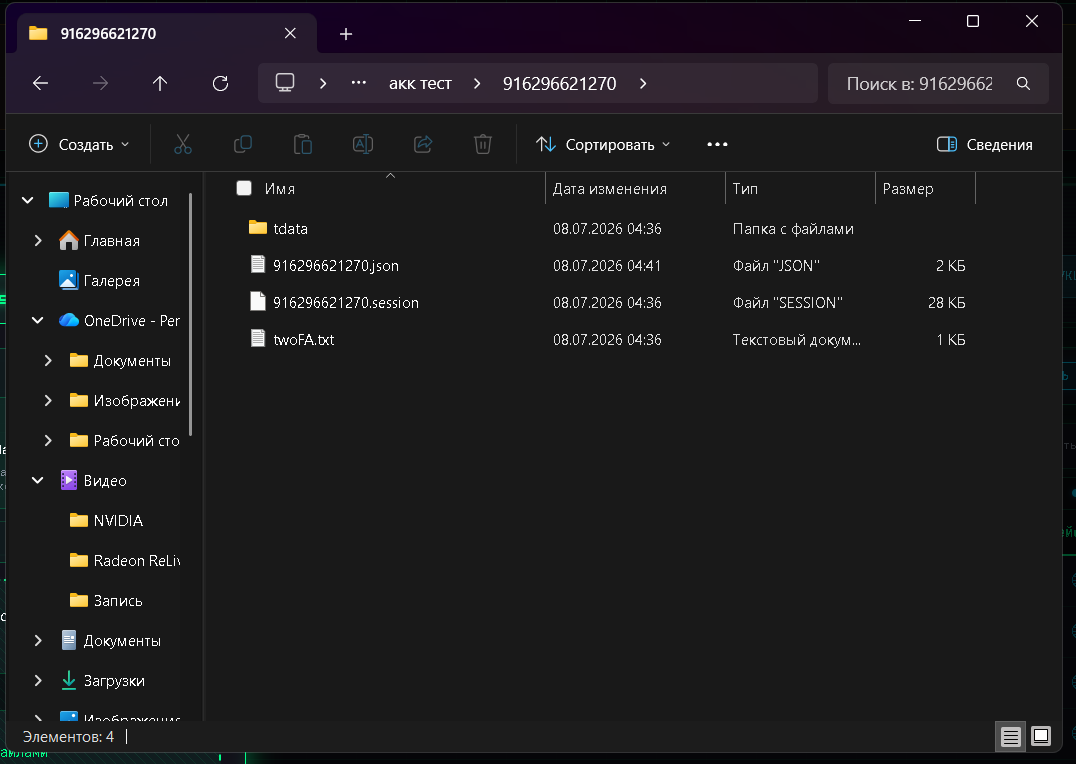
Basic workflow:
- Select the TData folder.
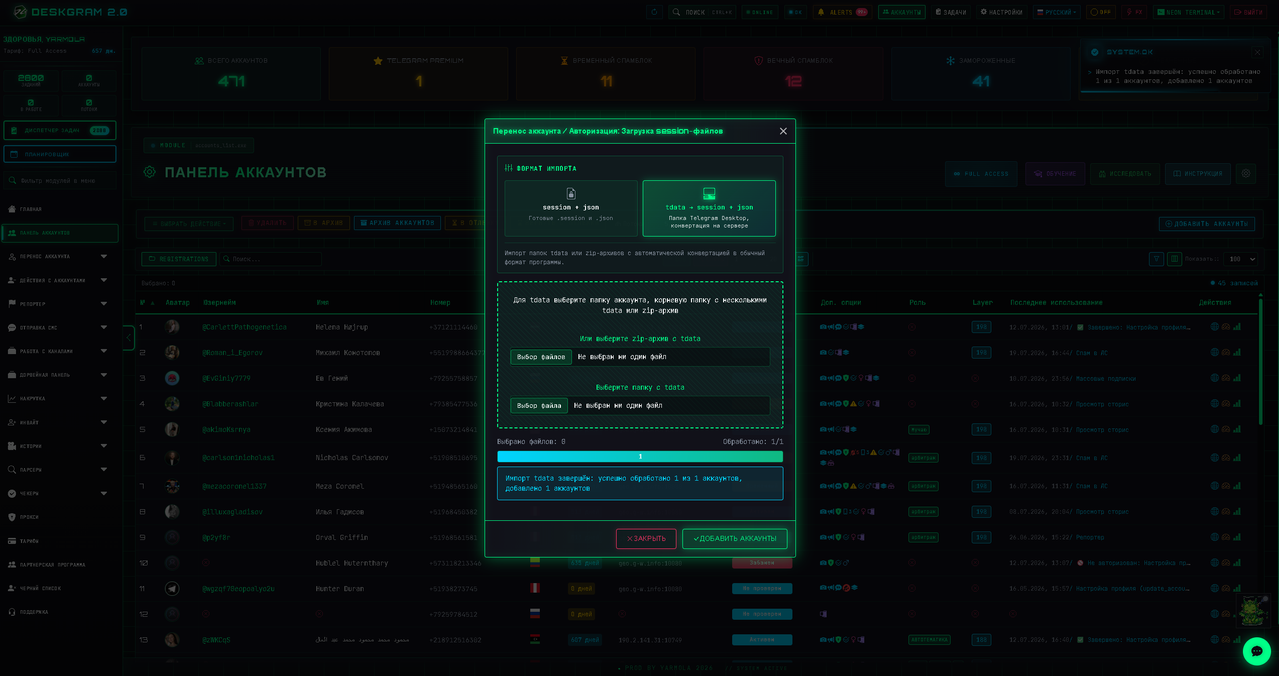
- Import it through the account panel.
- Check that the account appears in the list.
- Add or verify proxy settings before using the account in automation.
After Import
After accounts are added, review the account list.
Before launching real tasks:
- check account status;
- assign proxies if needed;
- avoid sending new accounts directly into aggressive actions;
- start with account warmup or small safe tasks;
- monitor errors during the first run.
Key Takeaways
.session+.jsonis the fastest format for bulk import.- TData is useful when accounts come from Telegram Desktop profiles.
- Proxy settings should be checked before automation starts.
- Imported accounts should be tested with small tasks before scaling.